Have you ever picked up a vintage handkerchief at a garage sale, and tried to use it as a bandana-style head covering, only to find it much too small?
No?
You blew your nose in it instead?
Well I tried to use them as head coverings, because they are so cool and vintage-looking. I found a way to modify them so that they work well, and I thought I would share this bounty of wisdom with you.

(Please pardon the bag of potting soil in the corner)
Okay. All you need for this project is a handkerchief, some coordinating ribbon (I recommend grosgrain, because it isn’t as slippery, but I used this sheer stuff because we didn’t have any grosgrain) and basic sewing supplies.

First step: Iron your handkerchief. (I made sure my tea was in the photo because I thought it looked artsy. If you follow my example you may end up with a tea-stained head covering and ironing board.)

Now, using chalk or a pencil or something, draw a curve on the top half of your handkerchief.
 The higher the curve, the bigger the head covering will be, as illustrated by the red curve (small head covering) and the purple curve (large head covering).
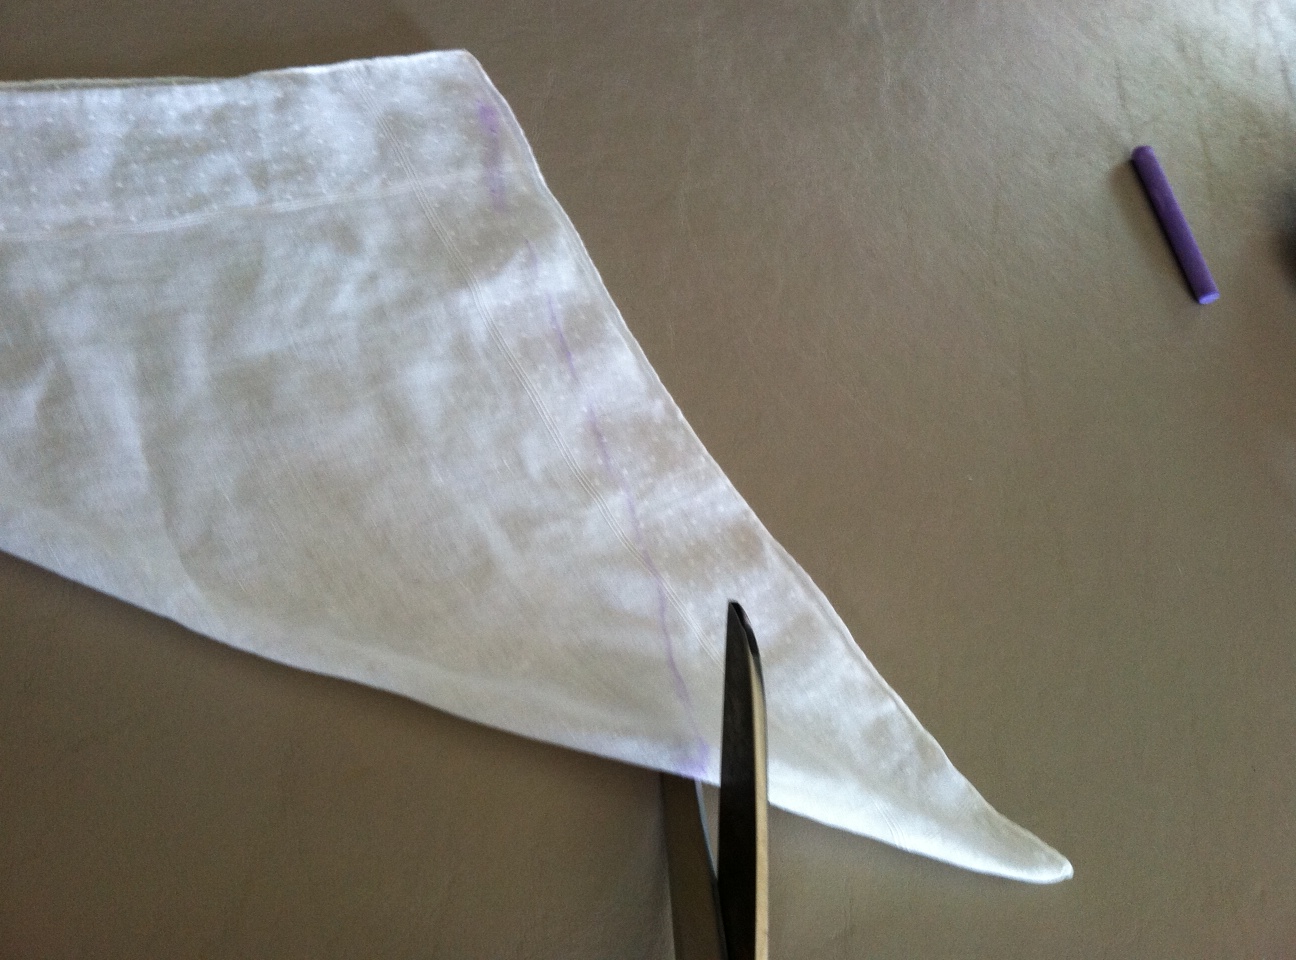
I folded the handkerchief in half to cut the curve, to make sure that both sides would be exactly even.

This is (approximately) what it should look like when you’re done cutting. (I obviously didn’t do a very good job at ironing this. Good grief.)

Cut your ribbon into two pieces, about six inches long. I didn’t even measure. Long enough to tie into a bow easily.
Now, hem it however you wish. I chose to serge the edge, and then fold it over and hem, placing the ribbons in at the corners.
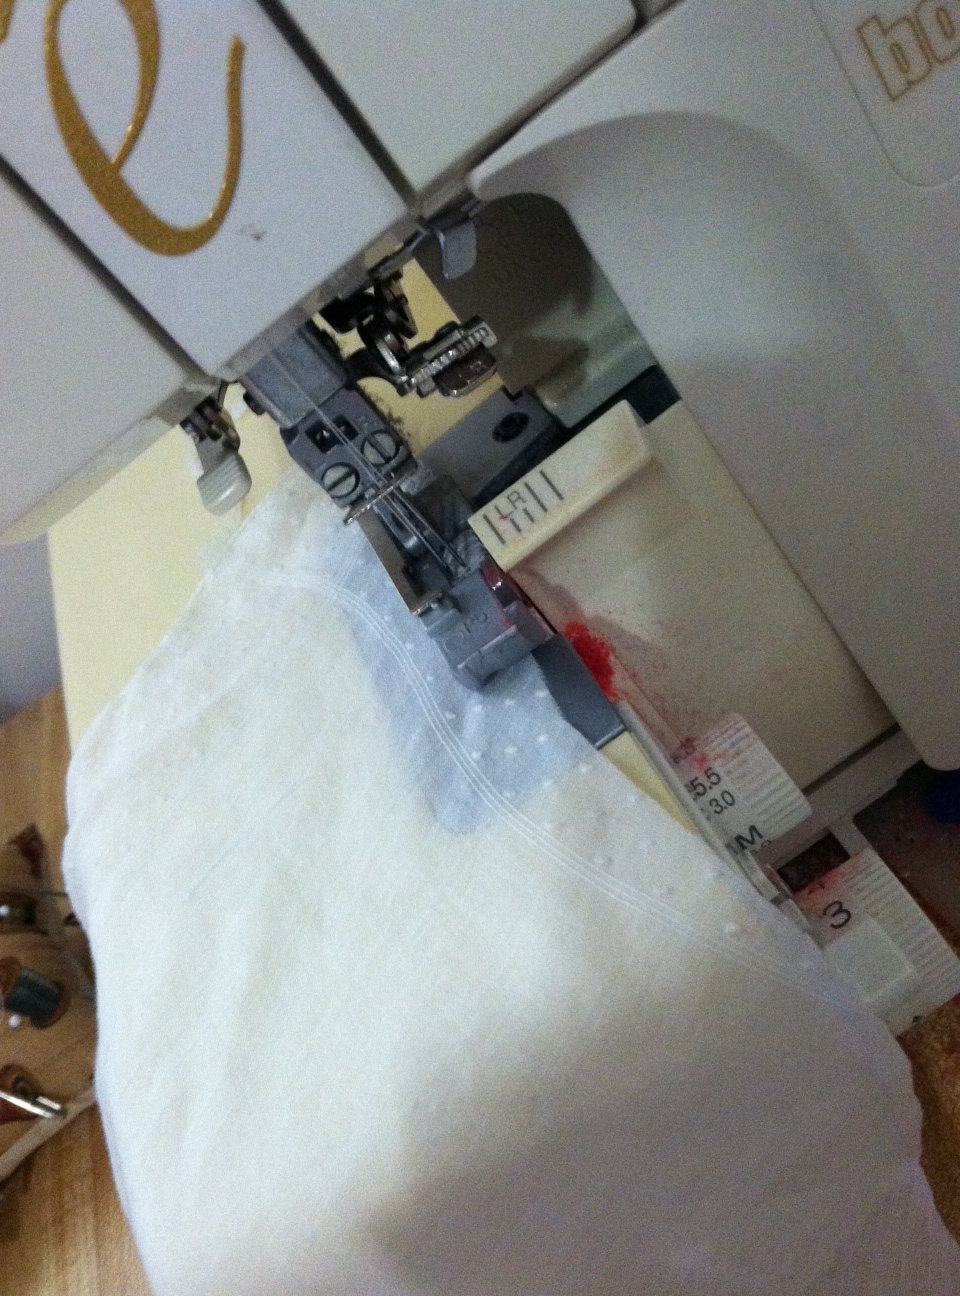
Is it just me or does the serger look like it’s bleeding?

The ribbon should go under the folded edge, like this.
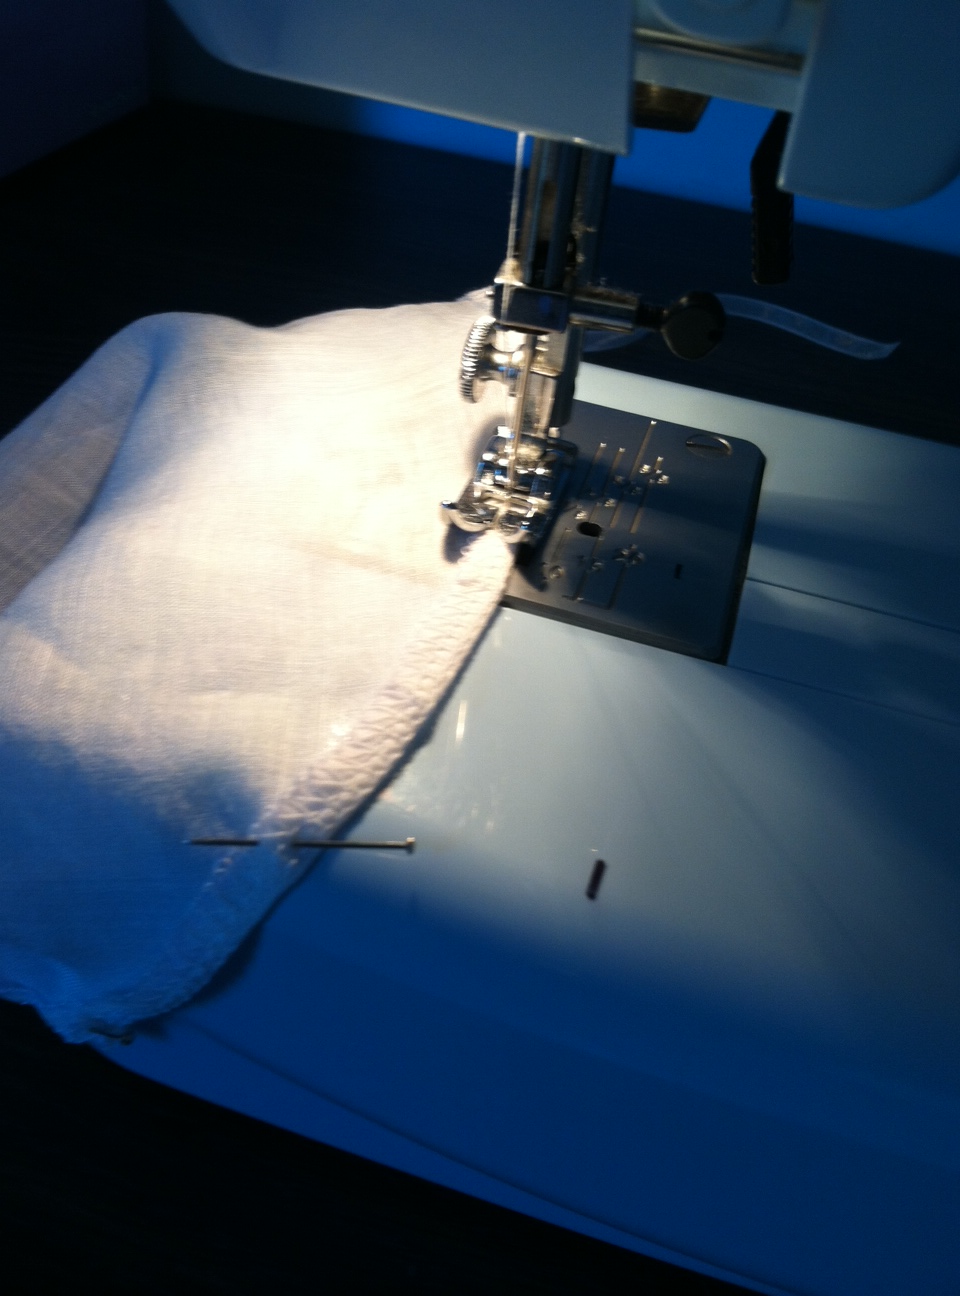
If you don’t have a sewing machine, just hem it by hand.
Trim the ends of your ribbons into points, and dab a bit of fray check, or clear nail polish, or Elmer’s glue, on the ends to make sure they don’t unravel.

Now, iron your new head covering and use the ribbons to tie it onto your head like a bandana.
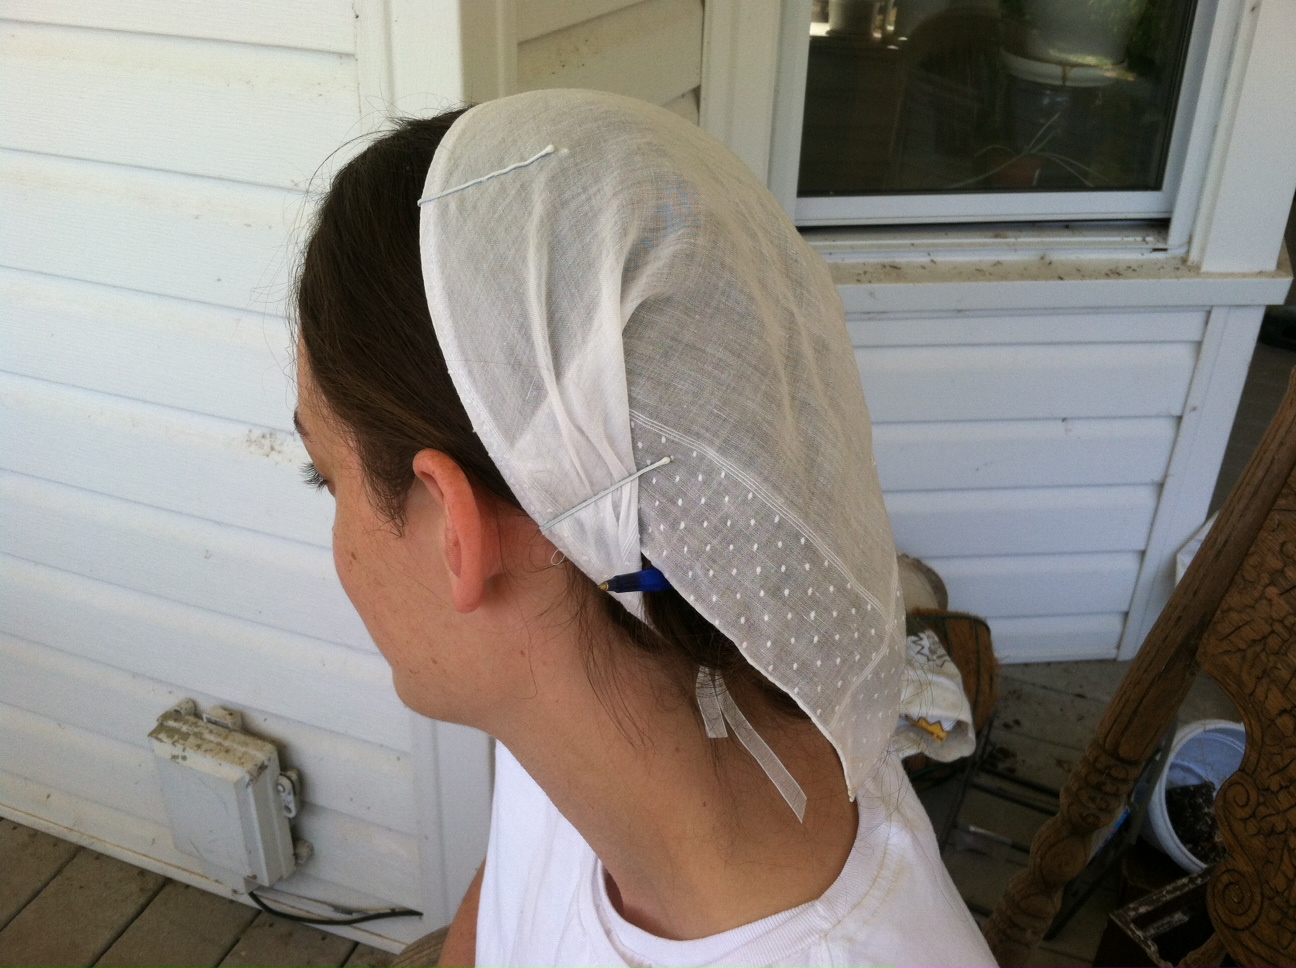
Ta da!
(And yes, that is a pen sticking out of my hair. If you want to know how to put your hair up with a pen, check out the only other tutorial I’ve ever done, here.)
P.S. If it grosses you out to put something on your head which someone once blew their nose into, just imagine that it was used, instead, to dab away a young damsel’s tears when her fiance went off to war, or something.


Leave a comment